Can You Run Shattered Throne Again for the Ship
Quick Links
- Shattered Throne's Boodle Table
- Erebus: The Labyrinth
- The Descent
- Catwalk And Thrall Hall
- Vorgeth, The Dizzying Hunger
- Climb The Tower
- Dûl Incaru, the Eternal Return
The Shattered Throne is the first dungeon introduced in Destiny ii. Found in the Dreaming City, this dungeon tasks Guardians with slaying Dûl Incaru before the Dreaming Metropolis curse consumes the unabridged region. Defeating her is the in-game explanation for why the curse resets every three weeks.
Besides the amazing spectacle of this dungeon, players will want to best the Taken enemies within for high-stat armor and reprised Dreaming City guns. Waking Vigil, Retold Tale, Sleepless, and Vouchsafe are all weapons that drib from this dungeon with new perks and a higher infusion cap. Hither's a consummate guide to besting Destiny 2'southward first dungeon.
Updated September 17th, 2021, by Charles Burgar: Most of the Dreaming City's items are at present available in the full general boodle pool. Any activity has a run a risk of dropping the likes of Tigerspite and Twilight Oath, including the Dreaming City's Shattered Throne dungeon. We've updated this guide with a loot table for this dungeon, more information on specific strategies, and sections explaining how you can reach this dungeon'south two hidden chests that grant Dreaming City gear.
Shattered Throne'due south Loot Table
Unlike other dungeons in Destiny 2, the Shattered Throne's loot table is shared across all encounters. Any run into you lot consummate or breast y'all open volition grant any detail from the Dreaming Urban center. Armor that drops from this dungeon has a adventure to be a high-stat piece, dropping with 60+ full stats with spikey distributions. This dungeon too houses Wish-Ender's Exotic quest.
| Item | Type |
|---|---|
| Reverie Dawn Helmet | Armor(Caput) |
| Reverie Dawn Gloves | Armor(Arms) |
| Reverie Dawn Chest | Armor(Chest) |
| Reverie Dawn Boots | Armor(Boots) |
| Reverie Dawn Course Item | Armor(Class Detail) |
| Abide The Return | Sword(Solar | Adaptive) |
| Retold Tale | Shotgun(Void | 65 RPM) |
| Sleepless | Rocket Launcher(Arc | 15 RPM) |
| Tigerspite | Auto Burglarize(Kinetic | 600 RPM) |
| Twilight Oath | Sniper Rifle(Solar | 140 RPM) |
| Vouchsafe | Spotter Rifle(Void | 200 RPM) |
| Waking Acuity | Hand Cannon(Arc | 140 RPM) |
| Pallas Galliot | Send(20% Driblet Adventure) |
Render to Quick Links
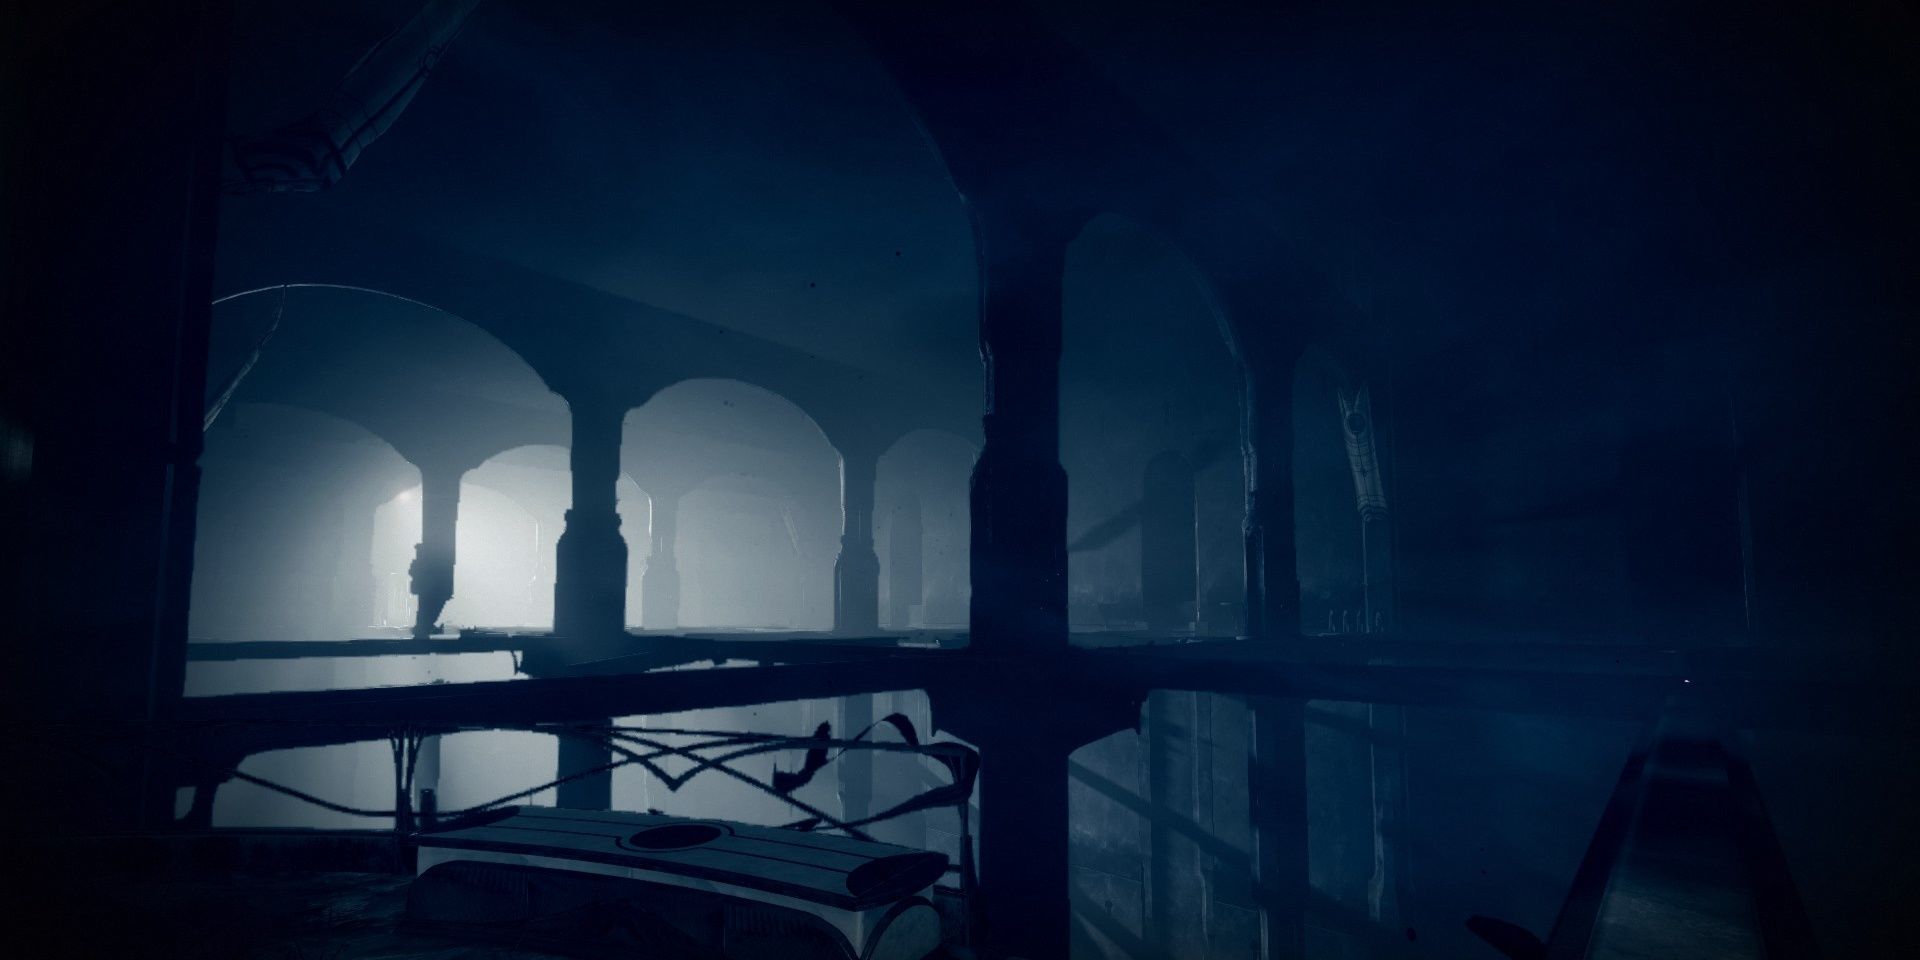
Erebus: The Labyrinth
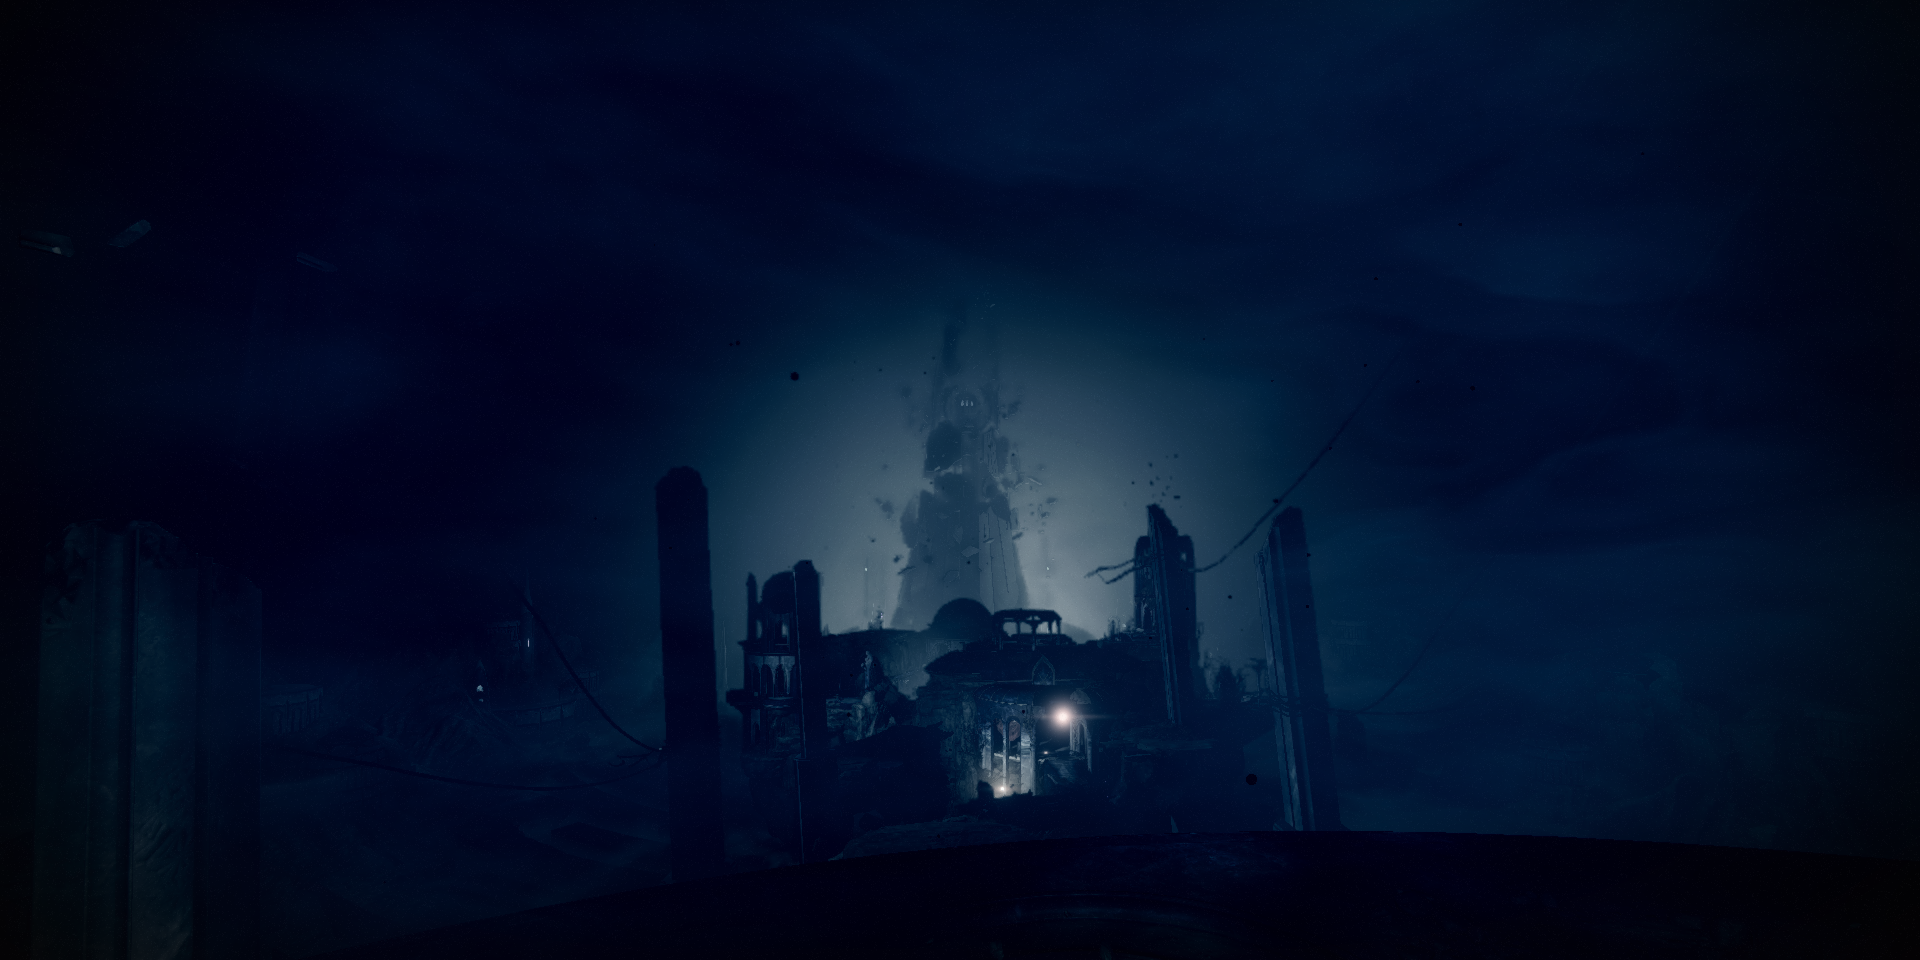
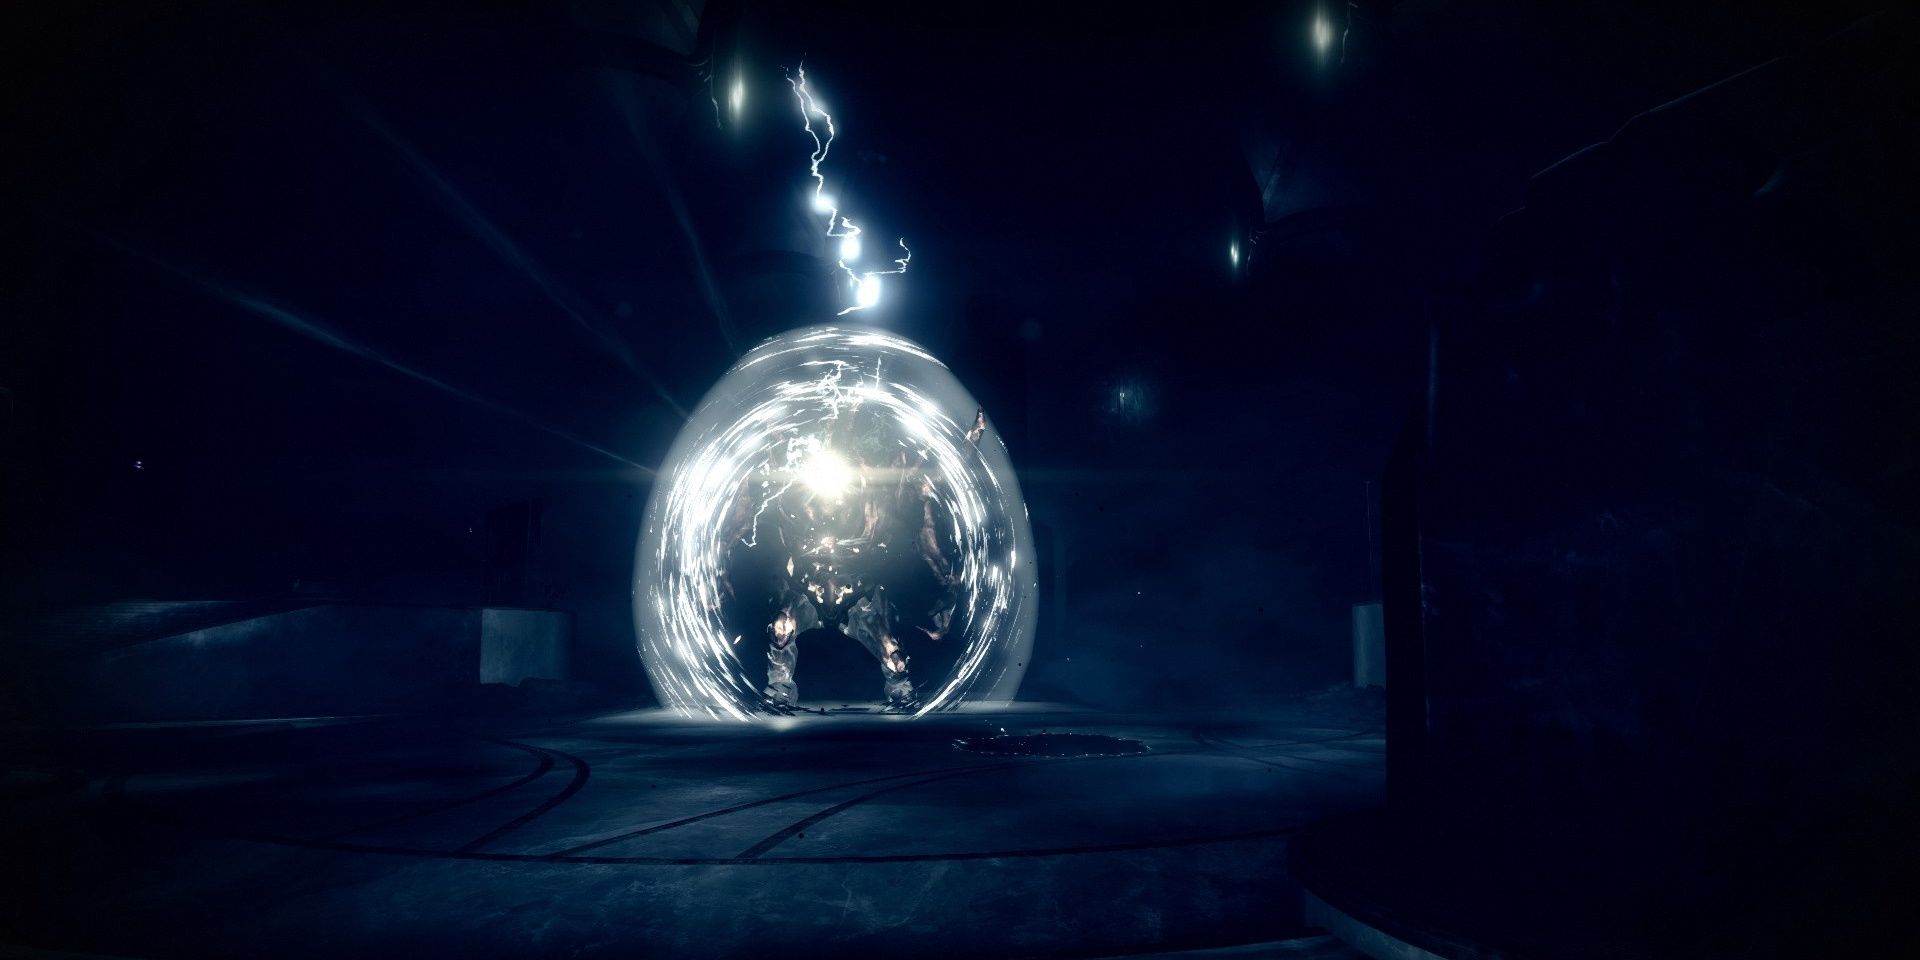
Fireteams will start the Shattered Throne dungeon just outside of the first encounter. Brand your way to the Ascendant buildings on the other side of the map. You will take to have out a few Taken Acolytes and a Knight miniboss. Once they're defeated, you will notice an image appear nigh the entrance to the opening encounter (shown beneath). Walk within the building to start the first meet.

Labyrinth Enemies
- Major Taken Captains, Minotaurs, and Phalanxes
- Taken Hobgoblins
- Taken Thrall
- Taken Acolytes
Solo Flawless Note: At that place's no fourth dimension limit for this come across. Have information technology slow.
For this encounter, your fireteam must caput to specific sections of the labyrinth and impale a miniboss. Every time yous practice this, an image will reveal itself. This image denotes where y'all need to go. Y'all can detect the kickoff image at the start of the encounter where you fought the get-go group of Taken enemies.
To make navigating this encounter easier, consult the map below. You lot starting time at the bottom of the map. Credit to Imgur user superking101 for the map.
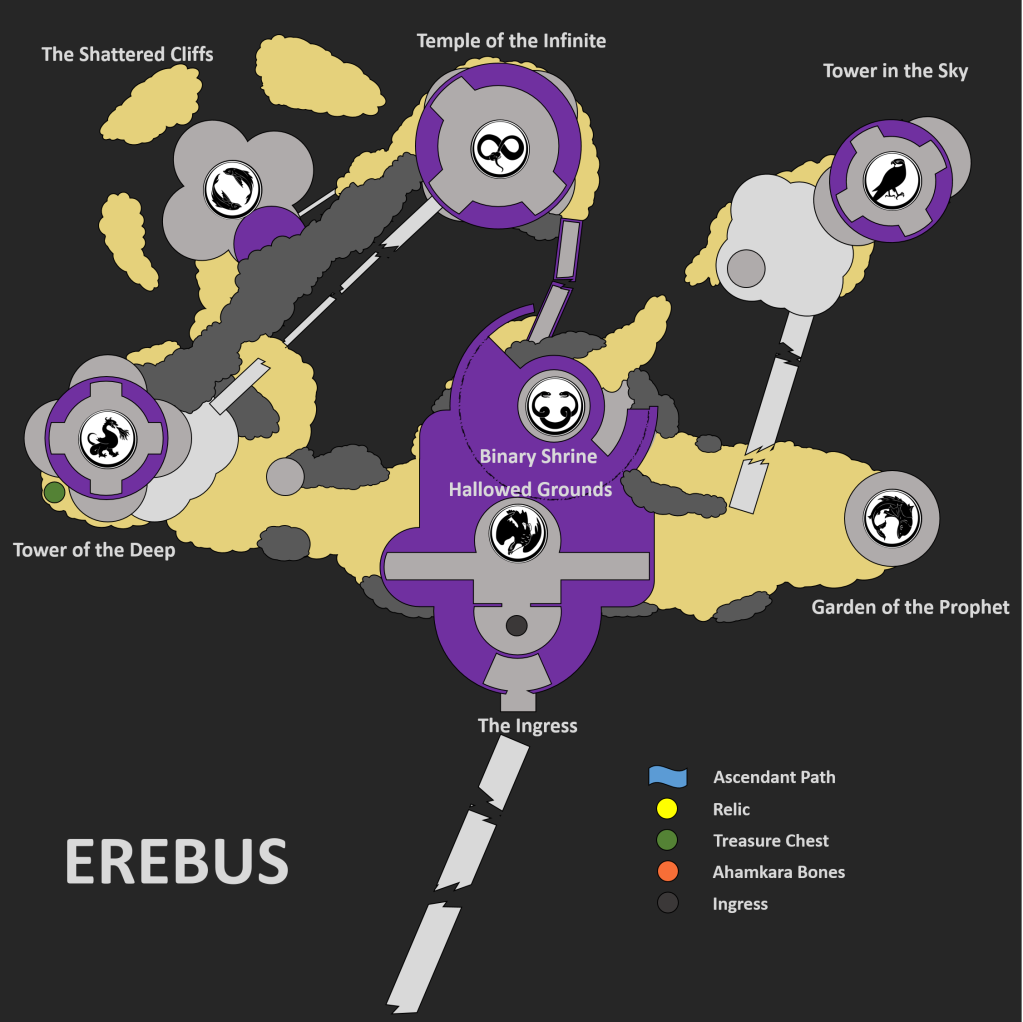
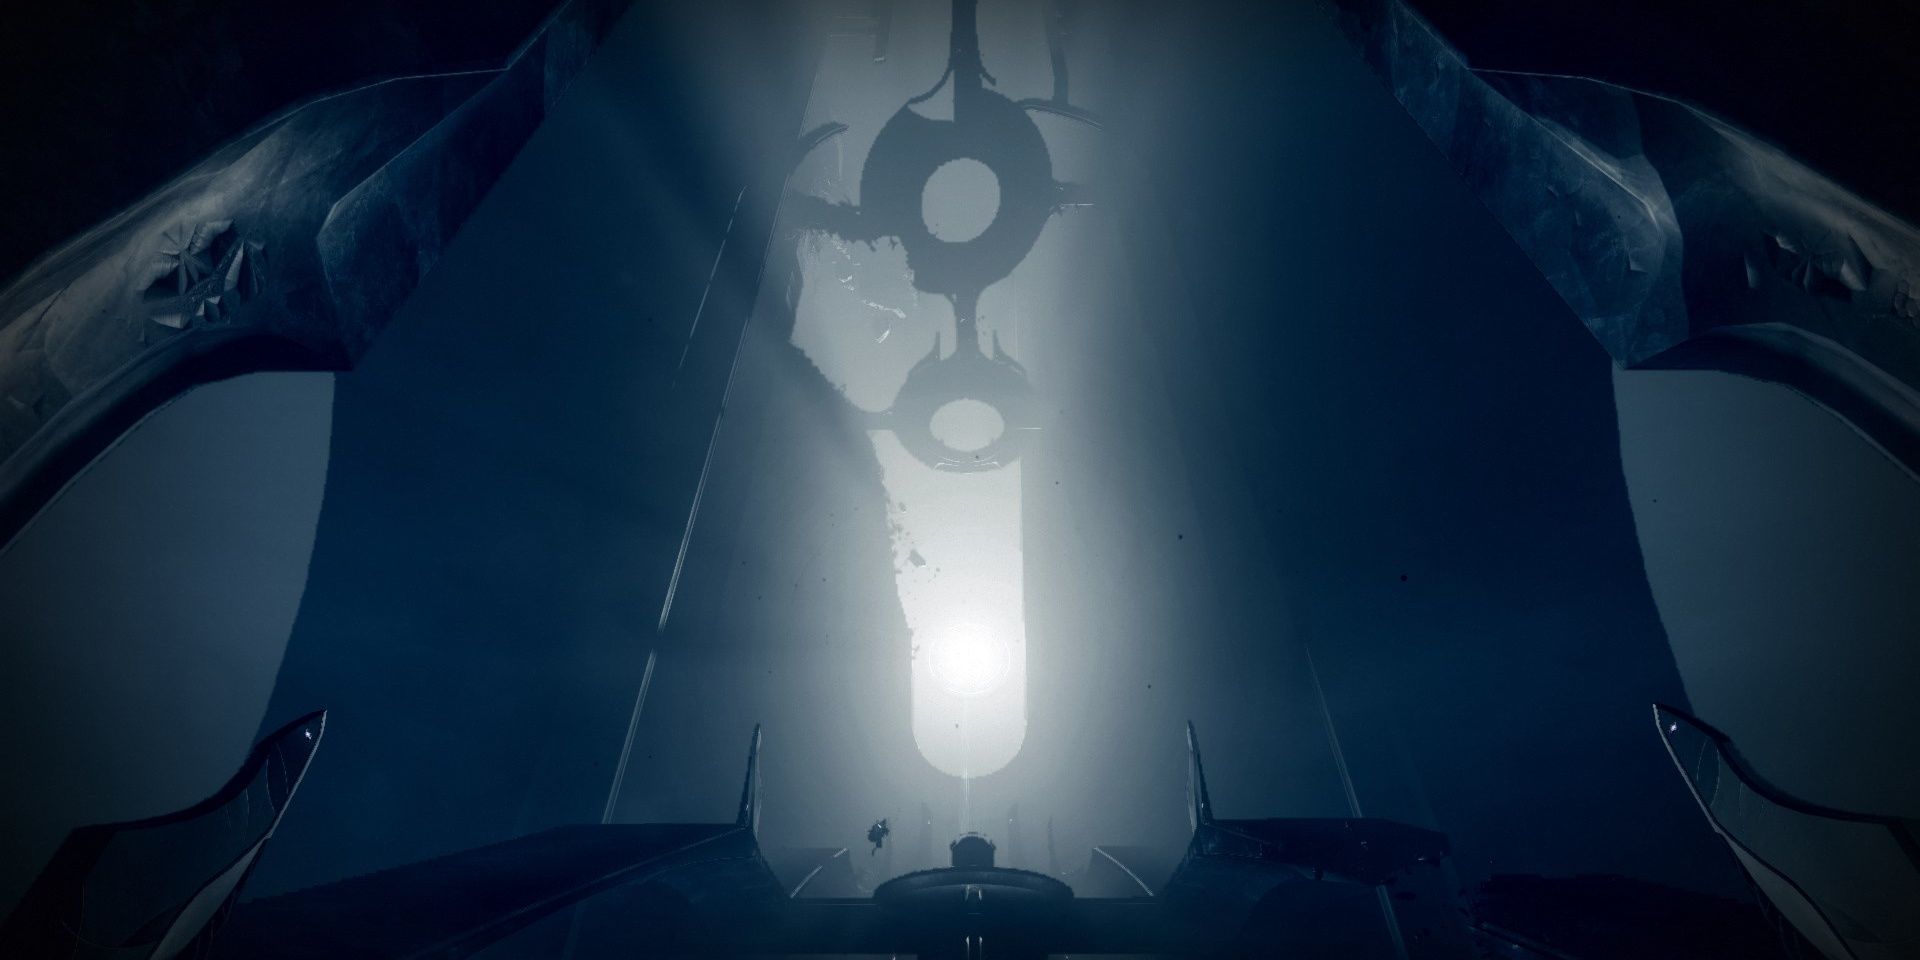
For example, let's say you lot start with the "curled fish" epitome that we showed above. You would head to the right portion of the arena, and then impale all of the enemies residing at that place. Once defeated, that expanse will projection a new image.
Let'southward say information technology projects the "infinity serpent" symbol. Y'all'd at present head to the top of the map and kill the miniboss. You'll repeat this process until you've cleared every cleared. If you ever get lost, refer to the map to a higher place or continue an middle on your radar for enemy pings.
Once half-dozen areas accept been cleared out, you will become an image of a "dragon swooping downwardly." This symbol is located at the showtime of the run into. Travel to the southern portion of the map, then impale the Taken enemies inside to finish the meet. Jump down the hole about the "dragon swooping down" epitome to attain the next section.
Return to Quick Links
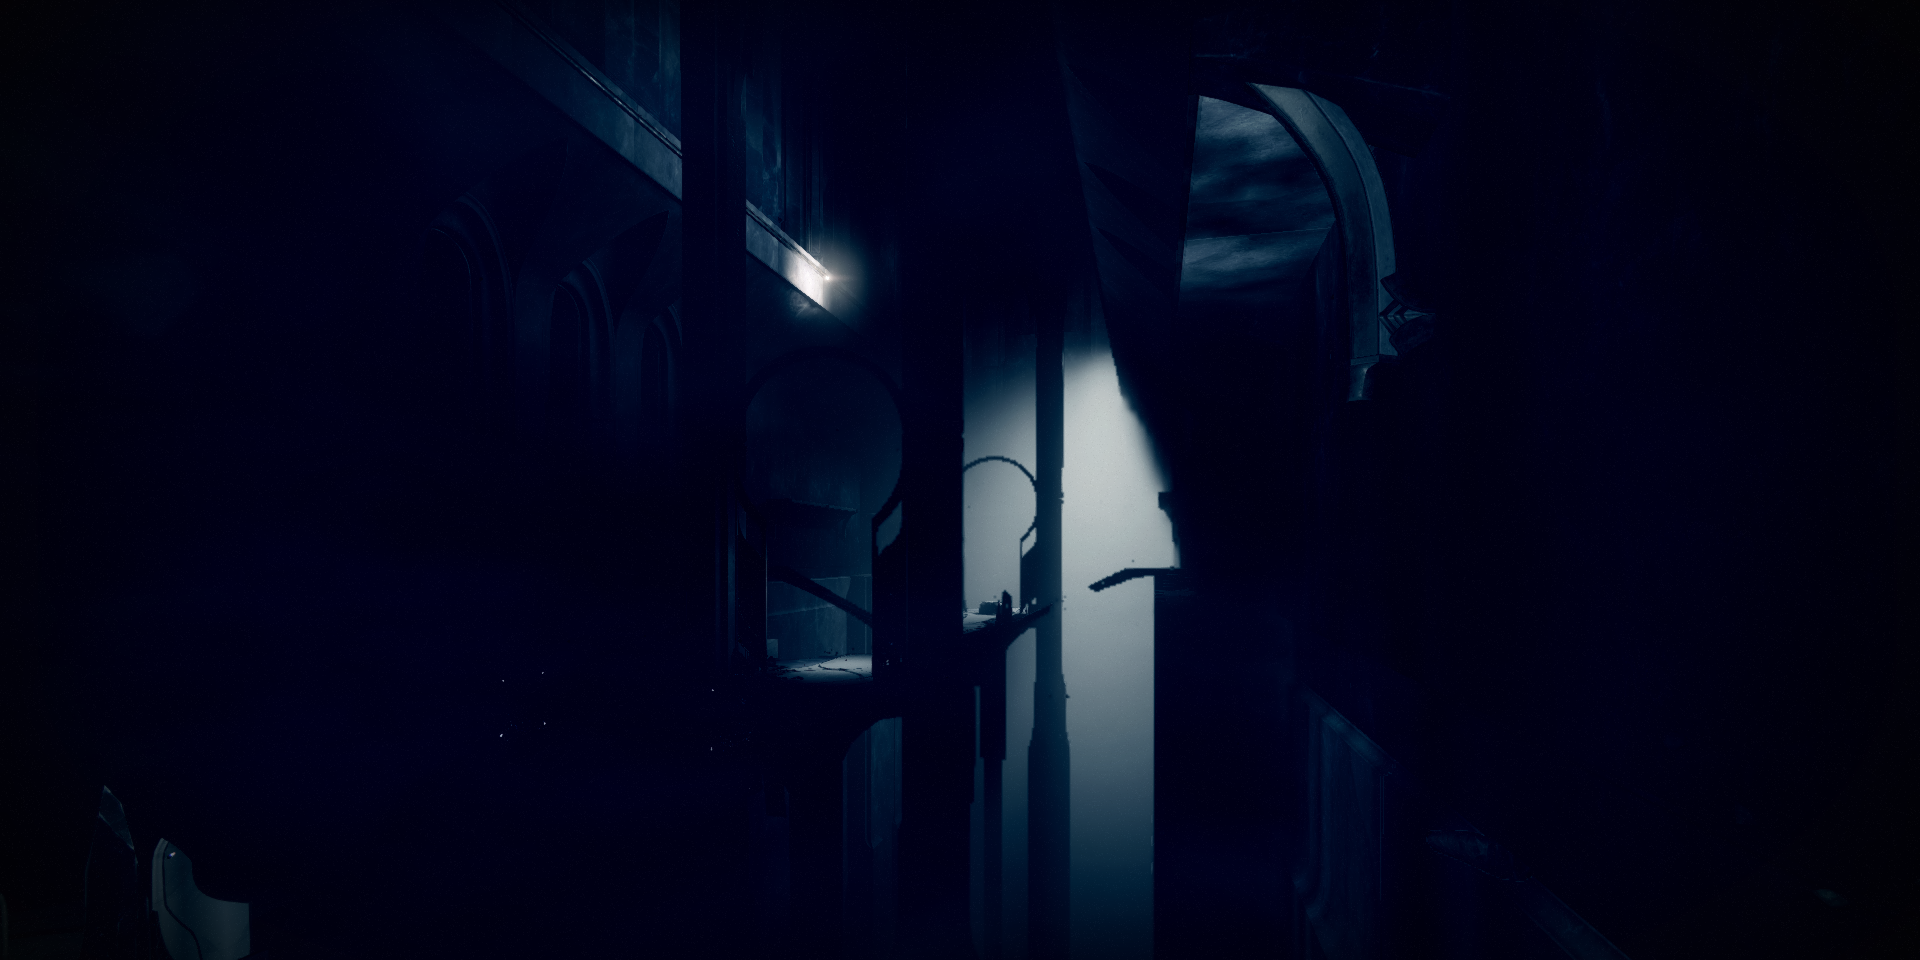
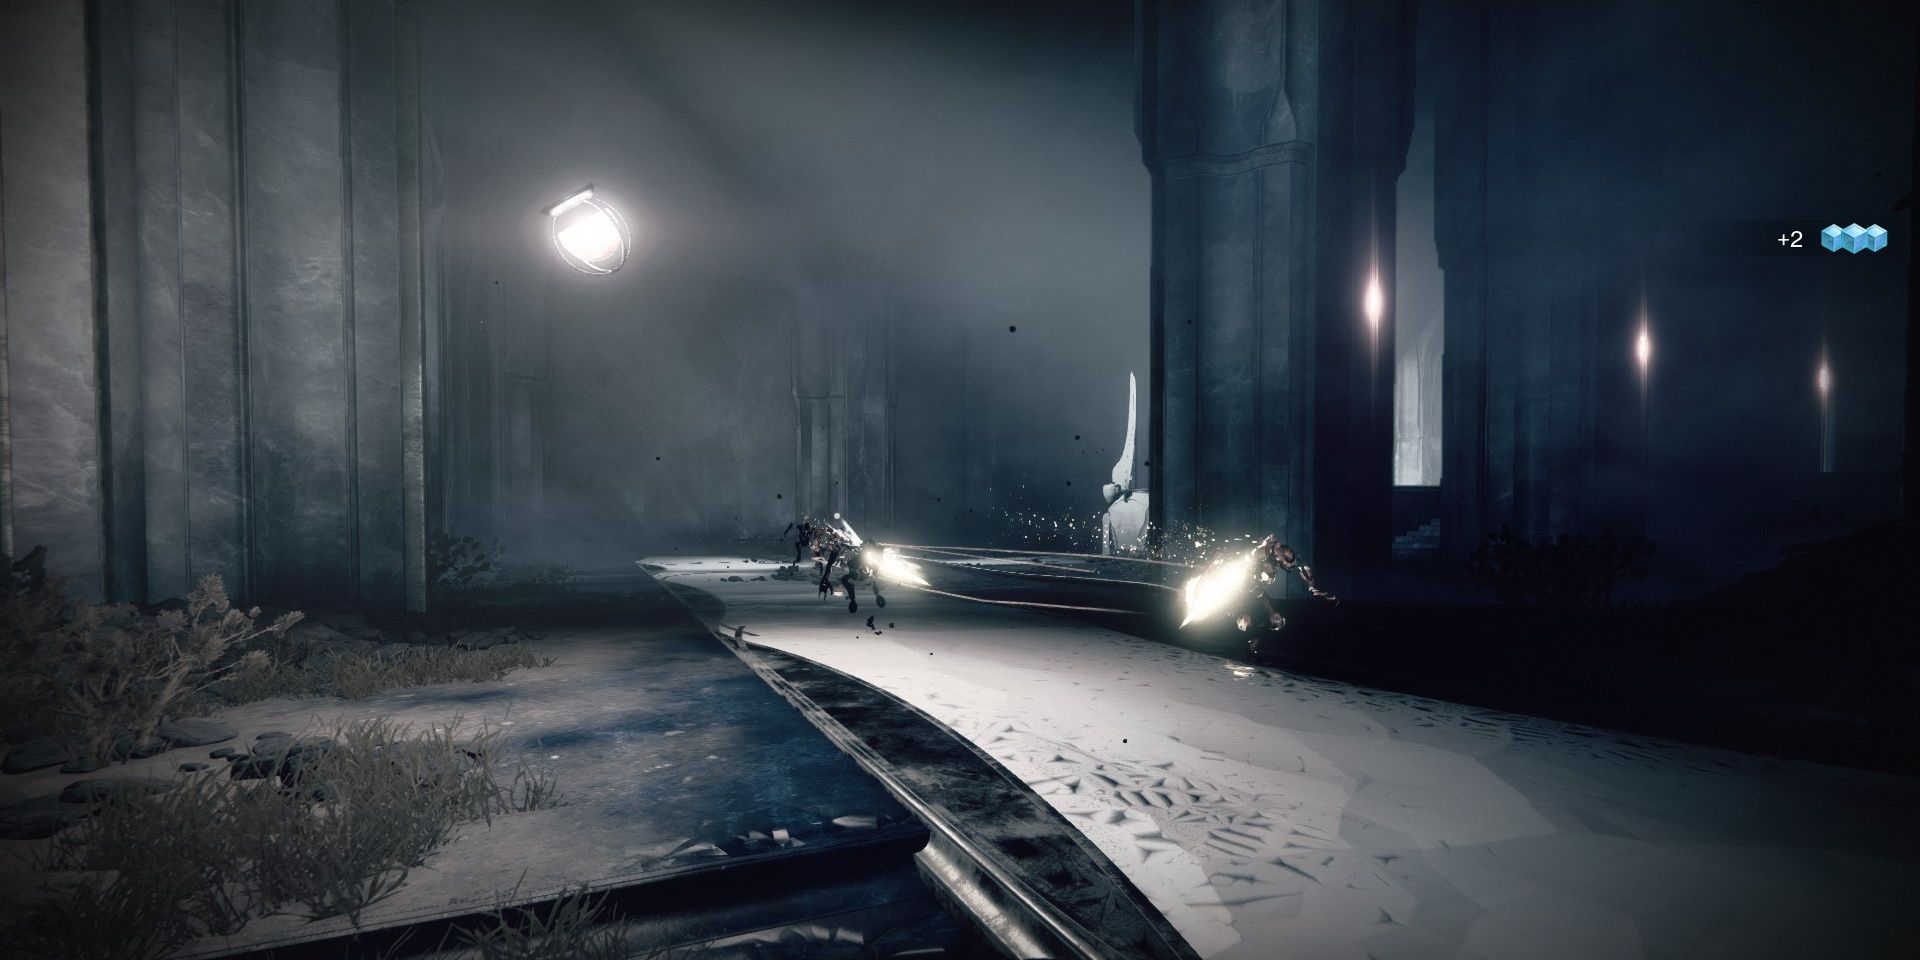
The Descent

The Descent Enemies
- Ane Taken Captain
- Taken Minotaurs
- Taken Phalanxes
- Taken Knights
- Taken Hobgoblins
Players will stumble across the Descent as the next department. Every bit the name implies, you'll need to jump off of a cliff to progress. Typical Taken foes will be waiting below. Push button through the enemies, climbing upwardly a set of stairs that lead to a small platform. This platform will have a Taken Captain aslope a few Taken rank and file enemies. Take them out, then proceed to the bridge.
If you're going for flawless, have this part slow. Forth both sides of the room are Taken Hobgoblins and Knights that volition snipe you from a distance. Use a Sniper Rifle to have them downwards. Taken Phalanxes will dot the span itself, attempting to push you if you go close. Stay near the entrance of the bridge, sniping all of the enemies y'all tin. One time the coast is clear, push past the bridge to reach the next area.
Return to Quick Links
Catwalk And Thrall Hall
Catwalk Enemies
- Taken Ogres
Solo Flawless Note: Slowly pitter-patter through the catwalks until an Ogre spawns. Use a long-range weapon to take them out immediately. For the Thrall Hallway, stay on the move.
Y'all must follow the narrow catwalks to the other end of the room, all while avoiding Taken Ogre projectiles. These projectiles will push y'all on affect, causing you to plummet to your death. Bring a long-range weapon to snipe the Ogres as they spawn. They will always spawn on the pillars connecting the room's catwalks. Kill them as shortly as they spawn. At the other terminate of the room is a hallway filled with Taken Thrall.
Thrall Hall Enemies
- Taken Thrall
When you laissez passer the fog gate archway, you volition lose your power to dart and use class jumps, glides, or lifts. An space number of Taken Thrall volition brainstorm to spawn, charging you from all angles. You must proceed to the finish of the hall and jump off of a platform to progress. Use Trinity Ghoul, Warmind Cells, or any add-immigration weapon to have out the Thrall quickly. This is also a great place to subcontract kill objectives if you want to checkpoint this part of the dungeon.
By the hall will be an outside department with Taken launch pads dotting the walls and Phalanxes guarding a building. Head to the building the Phalanxes are guarding, impale them, then head within. At the stop of the room will be Vorgeth's boss arena.
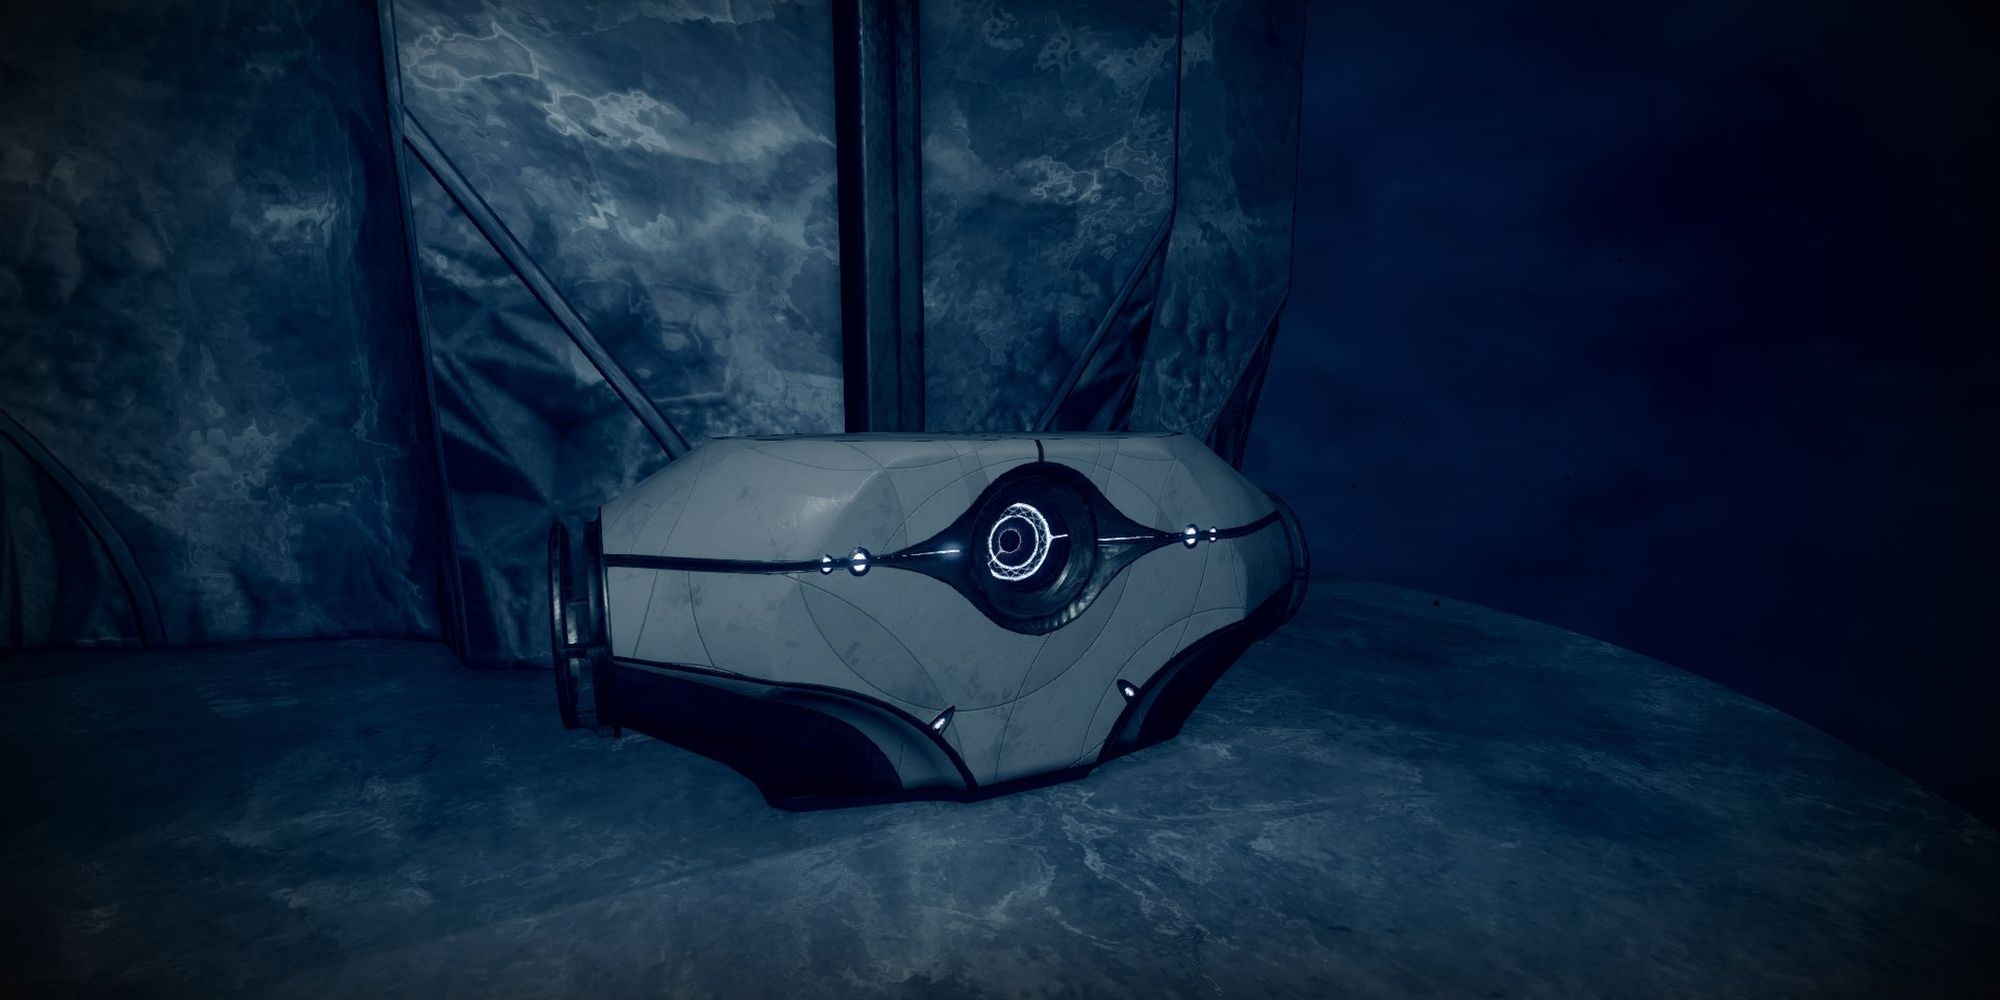
Hidden Chest #ane
You'll find this dungeon'due south outset subconscious chest right as y'all enter the Thrall encounter. In the get-go room, head straight to the opposite end of the room. Instead of descending the stairs on your left, jump over the railing into the abyss. Right as the irksome debuff is removed, jump to break your fall. Turn around to observe the chest.
Return to Quick Links
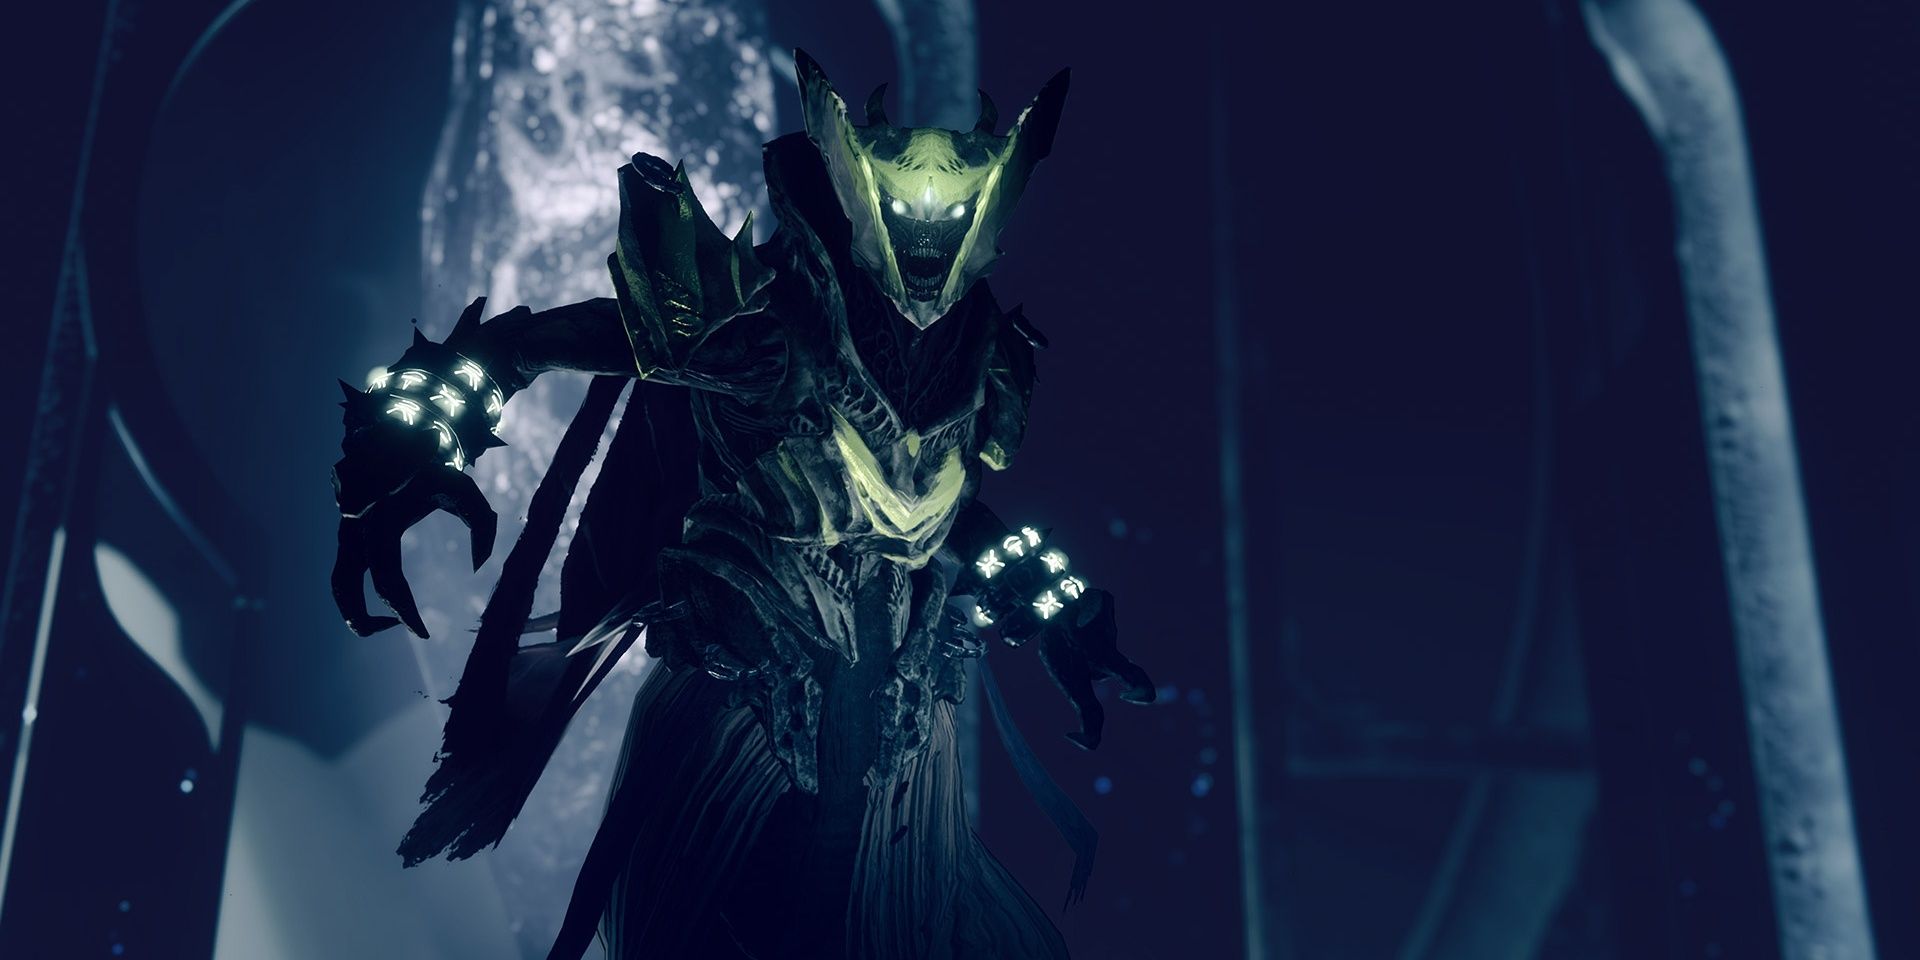
Vorgeth, The Dizzying Hunger
Vorgeth Run across Enemies
- Vorgeth, the Boundless Hunger
- Taken Wizards (Keepers of the Petitions)
- Taken Vandals
- Taken Goblins
Solo Flawless Annotation: You accept little cover here. Suspension line of sight from Vorgeth, bring DR mods, and consider using invisibility via Rat Rex or Hunter subclasses.
Vorgeth is a Taken Ogre boss that is allowed to all damage. To remove his immune stage, y'all must defeat four Taken Wizards named "Keepers of the Petitions" on iv sides of the room. Each Magician you slay will drop a buff named "Petitioner's Marking" that lasts 45 seconds. You must obtain four stacks of this buff by defeating all four Wizards in the room. Every time you catch a marking, the vitrify timer will reset.

Afterward you obtain four stacks of Petitioner's Mark, head to the middle of the room. You'll need to collaborate with ane of iv deposit stations to "dunk" the buff, removing Vorgeth's shield. You will at present have around thirty seconds to damage Vorgeth as much equally possible. Partway through this impairment phase, Vorgeth will release a dozen projectiles from its dorsum that can easily kill you. Destroy the darts, then focus on dissentious Vorgeth once more. If you tin can't kill the boss in this window, y'all'll need to defeat four Wizards again to strip its shield. You lot have 4 tries earlier you automatically neglect the see.
Those in a fireteam should designate one thespian to harm the projectiles that come out of Vorgeth'due south back. This volition allow the other ii teammates to safely kill him. Alternatively, deploy a Ward of Dawn Super. Swords are fantastic for this encounter, especially Lament. Three players and a Ward of Dawn can easily one-phase Vorgeth.
Solo players that want to go flawless can apply Anarchy or Witherhoard to deal constant damage to Vorgeth. Defeating the Wizards can exist tricky if you're solo, and then information technology's a good idea to bring Warmind Jail cell mods or utilize harm resistance mods. Rat King is too a good choice here since it heals you and makes you invisible.
Return to Quick Links
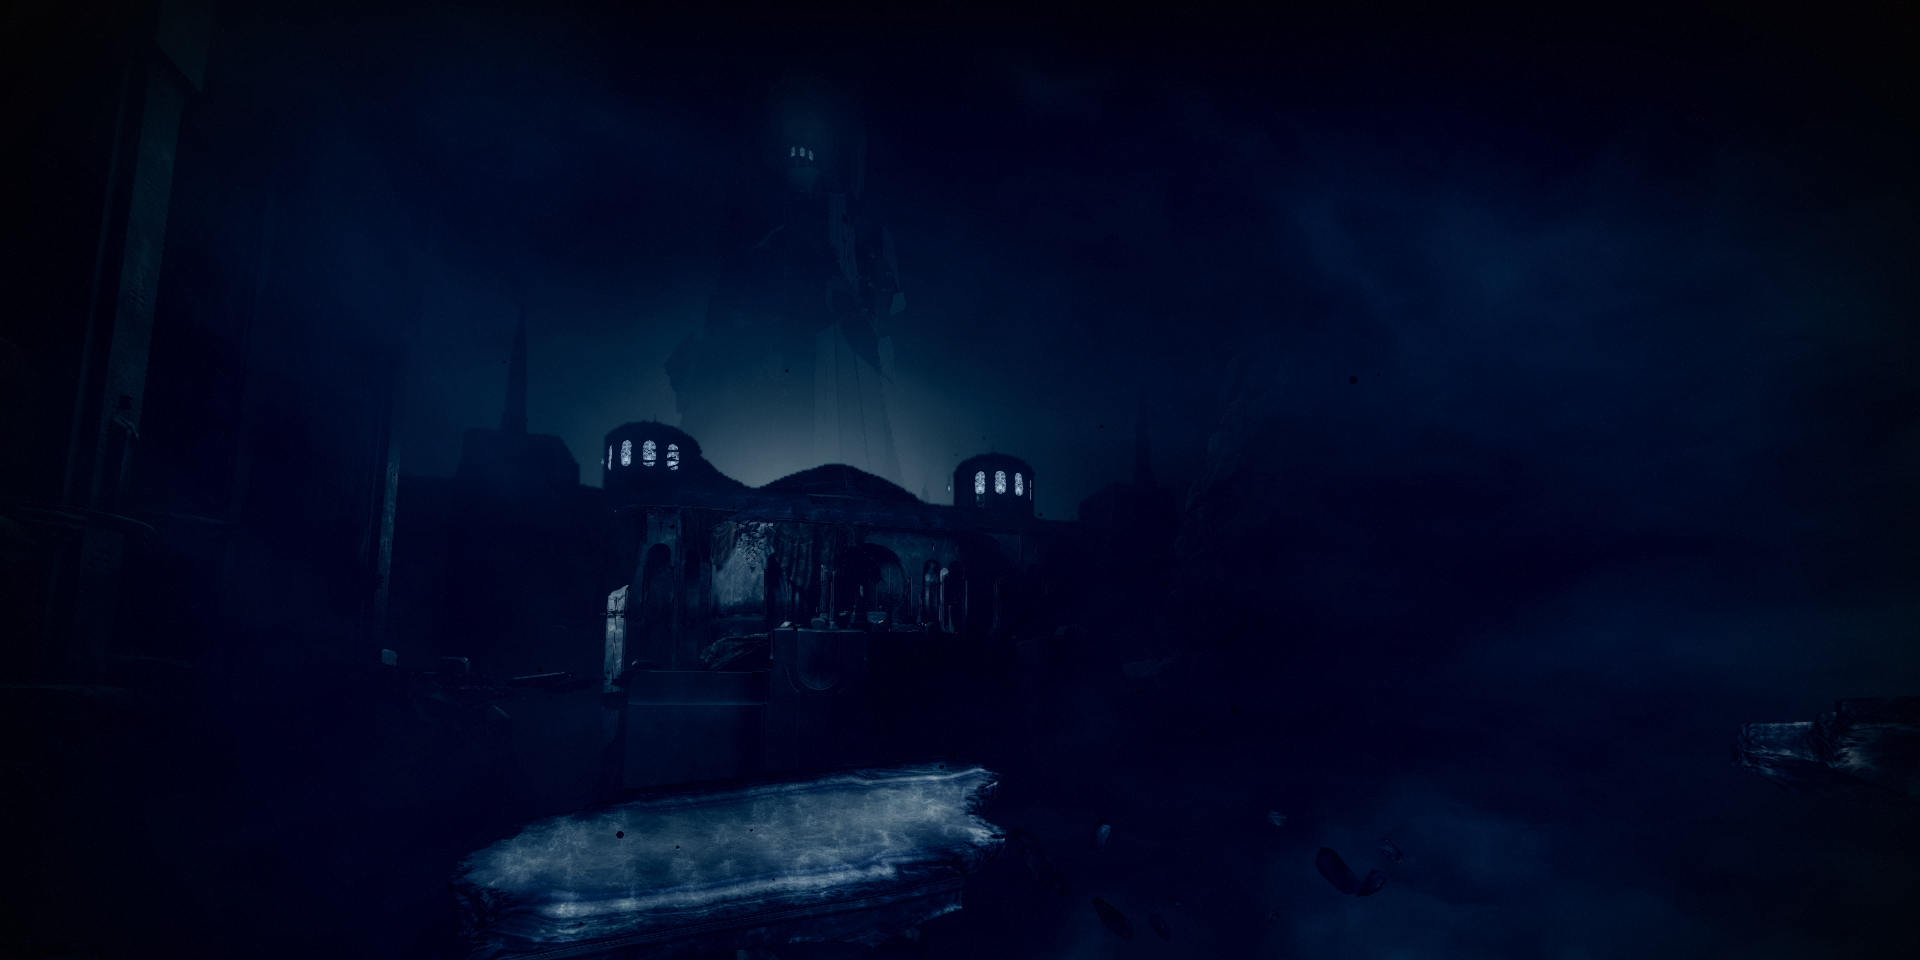
Climb The Tower
Tower Enemies
- Four Wizards
- Taken Captains
- Taken Thrall
- Taken Phalanxes
- Taken Hobgoblins
Equally you exit Vorgeth'south arena, don't forget to speak to the Awoken statue if you lot oasis't yet. This statue grants the quest for the Wish-Ender Exotic Bow. Past the statue is a gravity lift. Impale the Wizards guarding the lift, and so caput upward the lift. Your goal is to head up whatever gravity lift you run into. Follow the linear path to attain the boss.
Before you lot attain Dûl Incaru, you'll come across a hallway filled with Taken Thrall. These enemies will spawn indefinitely, making this a fantastic place to subcontract Exotic Catalysts and kill bounties. Consider saving a checkpoint of this surface area if you lot demand a impale subcontract. Past that room volition be an exterior section where you'll need to stick next to a tower wall. At the end of the path is a curt elevator section that takes you lot to the final dominate: Dûl Incaru, the Eternal Return.
Hidden Chest #two
Annotation: You must consume a Tincture of Queensfoil to attain this chest.
When you accomplish the showtime elevator past Vorgeth, hang correct of the lift. Pop a Tincture of Queensfoil. You should see platforms beside a massive colonnade. Follow the platforms to reach the chest.
Render to Quick Links
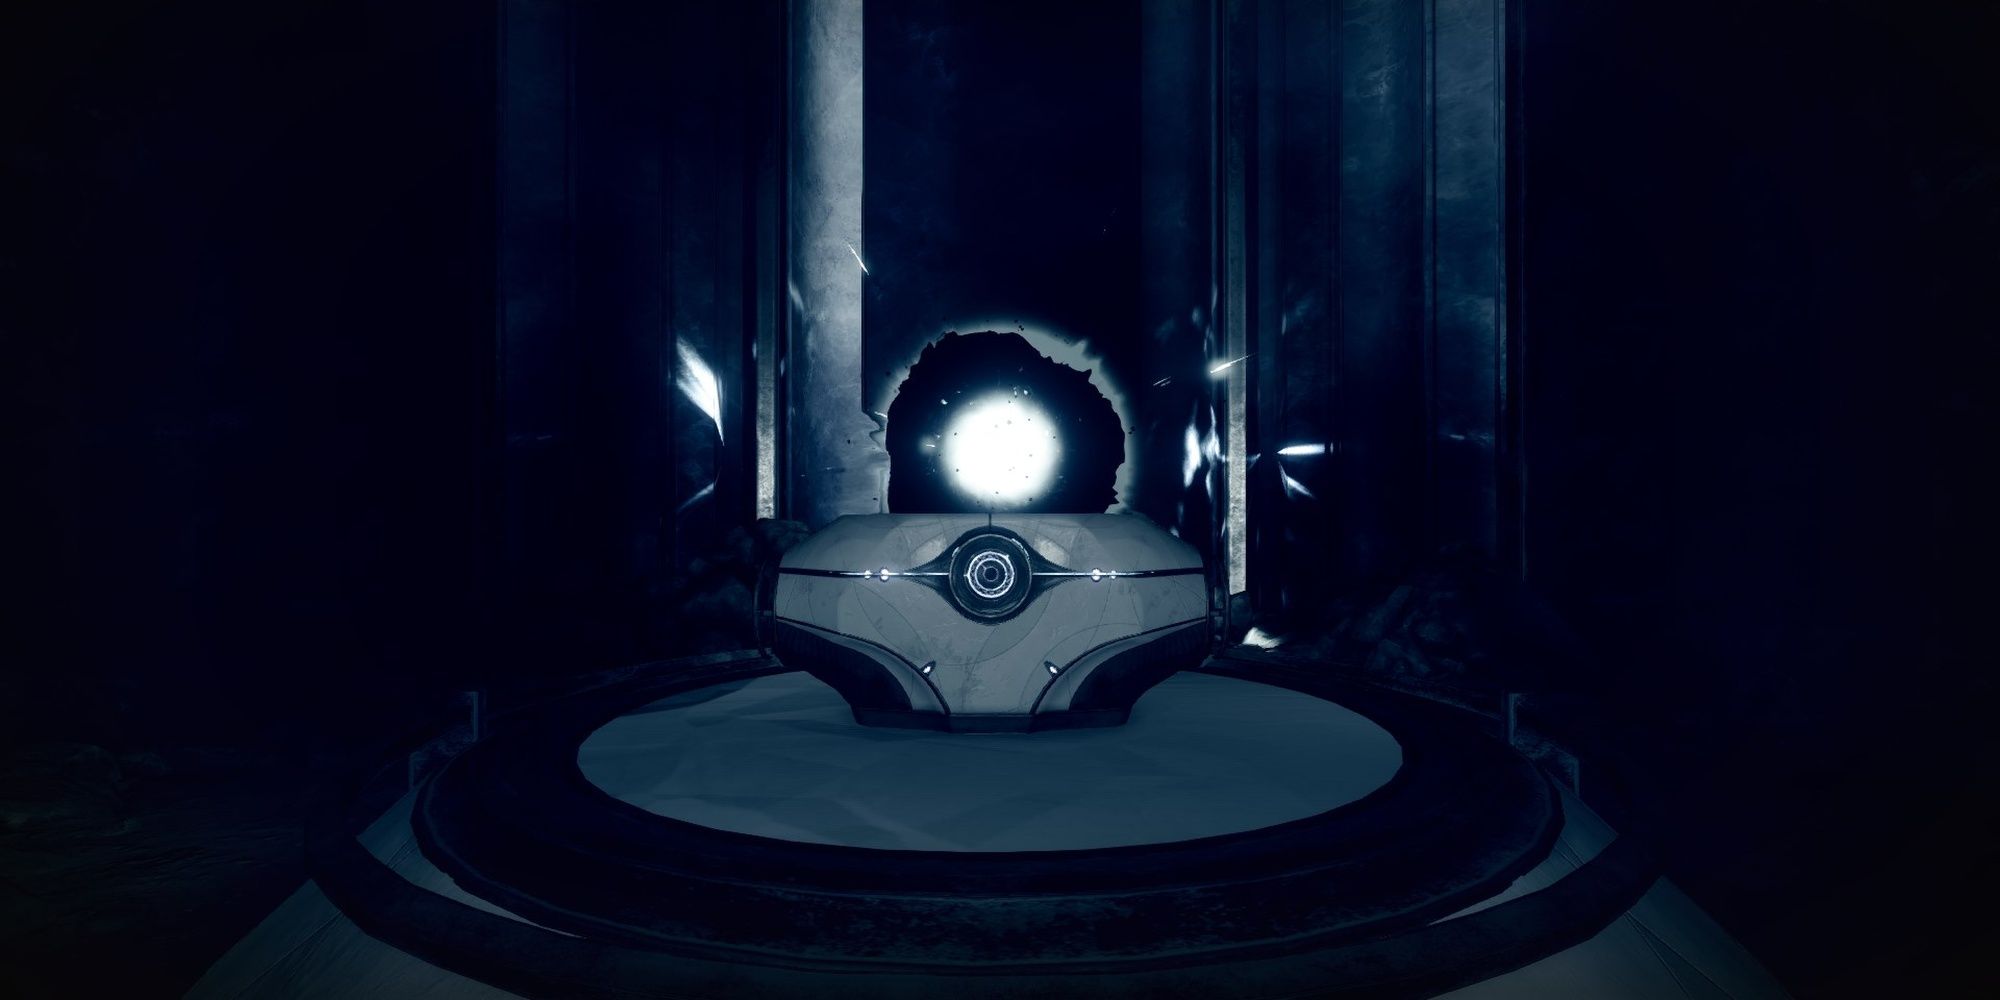
Dûl Incaru, the Eternal Return
Dûl Incaru Enemies
- Dûl Incaru, the Eternal Return
- Iii Deep-sea Champions (Hive Knights)
- Taken Psions
Solo Flawless Note: Dul Incaru is extremely weak one time you kill two or iii of her Knights. Focus her down ASAP in one case you've slain the Knights.
Dûl Incaru is the terminal encounter in the Shattered Throne dungeon. To beat her, you must obtain stacks of "Finite Thoughts" from Abyssal Champions. At that place are three in the arena, pregnant you can obtain up to three stacks simultaneously. Y'all merely need one or two stacks to impale Dûl Incaru, yet.
When the encounter begins, use any abilities that can slow, tether, or weaken the Abyssal Champions. Immediately take them out. If you can't kill them fast plenty, they'll despawn for a short fourth dimension before returning. Taken Psions volition also inundation the arena from two side alcoves. Use a Shadowshot Super or any Stasis abilities to articulate them out. Warmind Cells work too.
Once you lot obtain stacks of Finite Thoughts, impairment Dûl Incaru. Partway through the impairment stage, she will create a crystal backside her. You'll demand to destroy the crystal before you tin damage her over again. If you can't kill her in one damage bike, you must purge your Finite Thought stacks by standing in the well at the center of the arena; if the buff expires, information technology will kill you.
Almost every Heavy weapon is skillful confronting this boss, peculiarly Complaining and any Rocket Launcher. If you are a solo thespian, bring Warmind Cell mods to articulate out the Psions as fast as possible. From there, focus on killing the Knights with whatever high-damage weapons yous accept. Grab the buffs, then impale the boss.
Return to Quick Links
Well-nigh The Author

Source: https://www.thegamer.com/destiny-2-shattered-throne-dungeon-complete-guide/
0 Response to "Can You Run Shattered Throne Again for the Ship"
Post a Comment